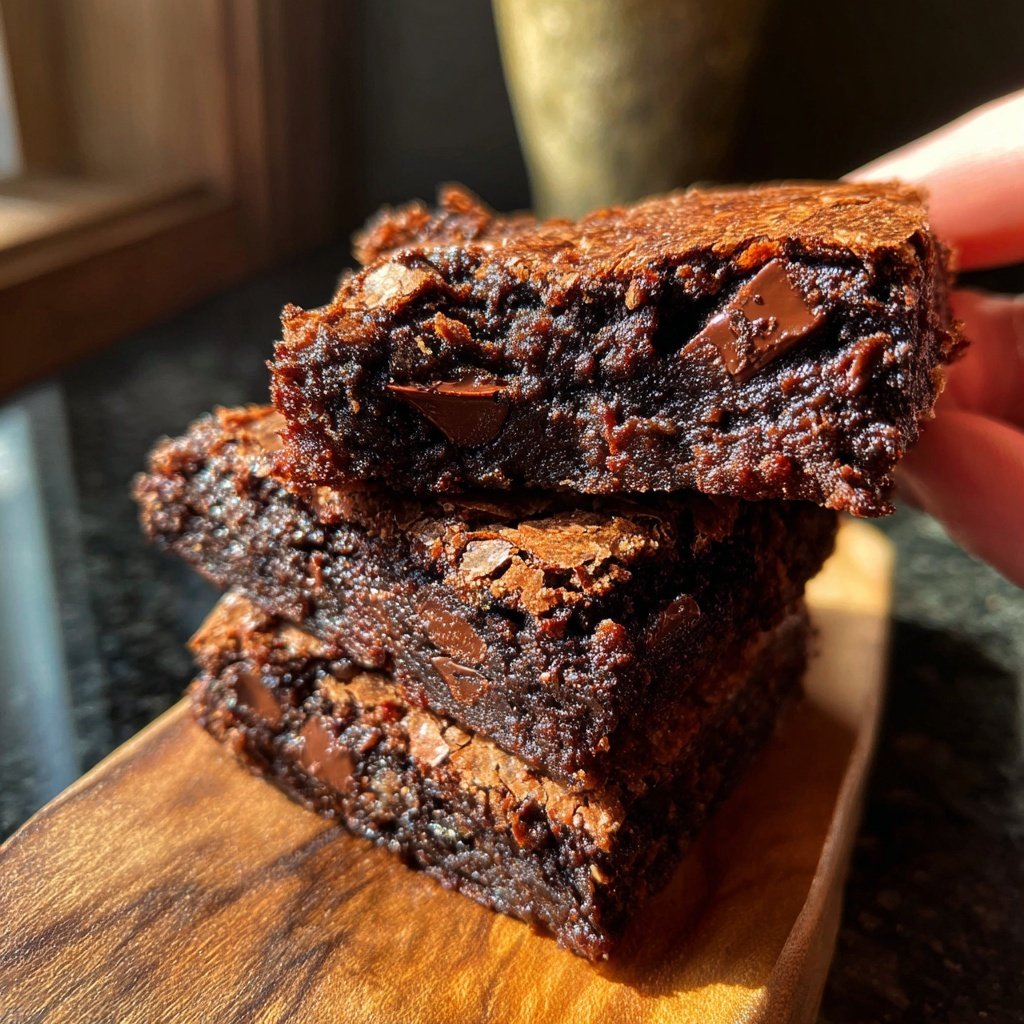
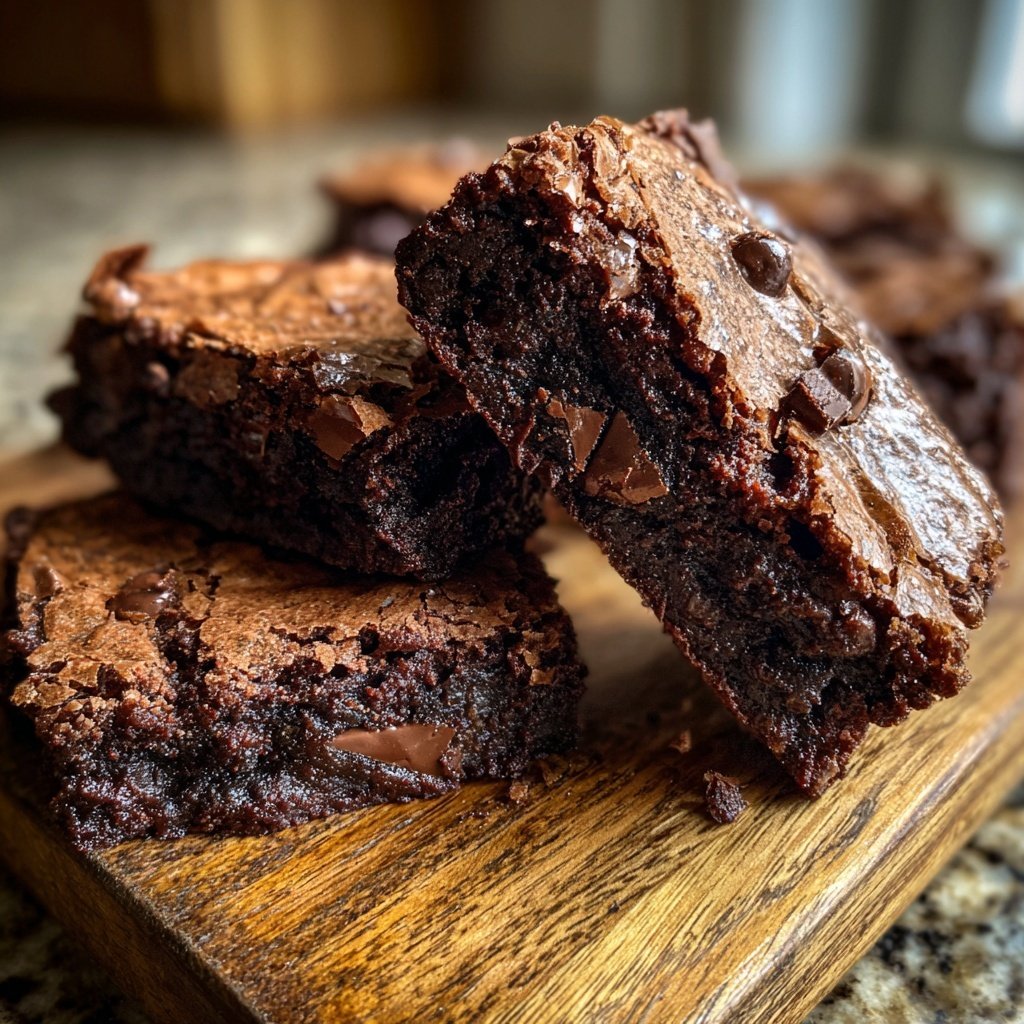
Chewy Brownies With Sourdough Discard
Highlighted under: Oven Favorites
I can't get enough of these chewy brownies made with sourdough discard! When I first experimented with using my sourdough starter in baked goods, I was amazed by the depth of flavor and the incredibly fudgy texture it brought to the brownies. The slight tang from the sourdough enhances the chocolate, making each bite richer and more satisfying. Plus, it’s a fantastic way to utilize leftover sourdough, turning what could be waste into a delicious treat that my family and friends rave about.
When I first baked these brownies, I didn't expect the sourdough to add such a delightful twist in flavor. The combination of chocolate and the subtle tang transforms the typical brownie experience. Everyone who tasted them was pleasantly surprised at how rich they were, and many asked for the recipe!
The key to achieving the perfect chewy texture is in the baking time. I recommend closely monitoring the brownies towards the end of the cooking time, as you want them just set in the center for that gooey finish. It took a few tries, but now I feel confident in the outcome every time!
Why You'll Love These Brownies
- Rich chocolate flavor enhanced by sourdough tang
- Incredibly fudgy and chewy texture
- Perfect for using up sourdough discard while making a delectable treat
The Role of Sourdough Discard
Using sourdough discard in brownie recipes not only reduces waste but also adds a unique depth of flavor. The natural fermentation process enhances the chocolate, offering a subtle tang that balances the sweetness. This is particularly beneficial when using high-quality cocoa powder, as the sourdough can highlight its richness. If you're concerned about the assertiveness of the sourdough flavor, a milder starter can help maintain a perfect balance with the sweet elements.
Additionally, the sourdough contributes to the texture of the brownies. The acidity from the sourdough interacts with the baking powder, leading to a slightly chewy and dense brownie. This chewy quality is essential to avoid overly cake-like results. Ensure your sourdough discard is fresh, as older discard may not provide the same leavening effect or flavor enhancement.
Baking Tips for Perfect Brownies
To achieve optimal fudginess, resist the urge to overmix the batter once you've added the dry ingredients. Overmixing can introduce excess air, which could result in a more cake-like texture. Stir just until you see the last specks of flour disappear; this will help preserve that velvety chew you crave. Additionally, if you're tempted to adjust the baking time, keep an eye on the brownies in the oven. They should be slightly underbaked and still glossy in the center when you remove them.
Using a toothpick to check for doneness is a traditional method, yet it’s essential to know what you’re looking for. Insert the toothpick into the center of the brownies; if it comes out with a few moist crumbs, they’re ready. If it comes out clean, you've likely overbaked them. Keep this visual cue in mind to maintain that gooey center. Lastly, cooling the brownies in the pan for at least 10 minutes allows them to set properly before cutting.
Ingredients
Brownie Ingredients
- 1 cup unsalted butter, melted
- 2 cups granulated sugar
- 4 large eggs
- 1 teaspoon vanilla extract
- 1 cup sourdough discard
- 1 cup all-purpose flour
- 1 cup unsweetened cocoa powder
- 1 teaspoon salt
- 1/2 teaspoon baking powder
- 1 cup chocolate chips (optional)
Instructions
Prepare the Oven and Pan
Preheat your oven to 350°F (175°C) and grease a 9x13-inch baking pan or line it with parchment paper for easy removal.
Mix Wet Ingredients
In a large bowl, combine the melted butter and sugar, whisking until smooth. Add the eggs and vanilla extract, then stir in the sourdough discard until well incorporated.
Combine Dry Ingredients
In another bowl, whisk together the flour, cocoa powder, salt, and baking powder. Gradually add this mixture to the wet ingredients, stirring just until combined. If desired, fold in the chocolate chips.
Bake the Brownies
Pour the batter into the prepared baking pan and spread it evenly. Bake in the preheated oven for 25 minutes, or until a toothpick inserted in the center comes out with a few moist crumbs.
Cool and Serve
Allow the brownies to cool in the pan for at least 10 minutes before transferring them to a wire rack. Once completely cooled, cut into squares and enjoy!
Pro Tips
- For an extra chocolatey experience, sprinkle a few chocolate chips on top before baking. Store leftovers in an airtight container to keep them chewy.
Storage and Freezing
These chewy brownies store well at room temperature for up to 3 days in an airtight container. If you want to prolong their freshness, you can refrigerate them for up to a week. Allow the brownies to cool completely before covering them to prevent condensation from making them soggy. For longer storage, consider freezing them; simply wrap individual squares in plastic wrap and then place them in a freezer-friendly bag. They can be frozen for up to 3 months.
When you're ready to enjoy the frozen brownies, take them out and let them thaw in the fridge overnight or on the counter for a couple of hours. If you're in a hurry, you can warm them in the microwave for about 10-15 seconds for that fresh-out-of-the-oven taste. This makes them a convenient treat to have on hand for unexpected guests or sweet cravings.
Variations and Add-Ins
Feel free to get creative with these brownies by adding ingredients like nuts or dried fruit. Chopped walnuts or pecans can enhance the texture, adding crunch and a nutty flavor that complements the chocolate beautifully. If you opt for dried cherries or cranberries, they can contribute a lovely tartness that contrasts delightfully with the rich chocolate base. Just be cautious with the amounts; typically, 1/2 to 1 cup of add-ins works well without compromising the structure of the brownies.
For a different flavor twist, consider swapping the chocolate chips for white chocolate or even butterscotch chips. These variations can completely change the character of your brownies, giving them a unique flair each time. Remember to adjust the sugar slightly if you're using sweeter chips, to maintain the perfect balance of flavors.
Questions About Recipes
→ Can I use fresh sourdough starter instead of discard?
Yes, fresh sourdough starter can be used. However, you may need to reduce the liquid slightly since fresh starter contains more moisture.
→ Can I make these brownies gluten-free?
Absolutely! Substitute all-purpose flour with a gluten-free flour blend for a gluten-free version.
→ What’s the best way to store leftover brownies?
Store leftover brownies in an airtight container at room temperature for up to 3 days, or refrigerate them for a longer shelf life.
→ Can I freeze these brownies?
Yes, you can freeze brownies! Wrap individual pieces tightly in plastic wrap and store them in an airtight container in the freezer for up to 3 months.
Chewy Brownies With Sourdough Discard
Created by: Arabelle Finch
Recipe Type: Oven Favorites
Skill Level: Easy
Final Quantity: 12 brownies
What You'll Need
Brownie Ingredients
- 1 cup unsalted butter, melted
- 2 cups granulated sugar
- 4 large eggs
- 1 teaspoon vanilla extract
- 1 cup sourdough discard
- 1 cup all-purpose flour
- 1 cup unsweetened cocoa powder
- 1 teaspoon salt
- 1/2 teaspoon baking powder
- 1 cup chocolate chips (optional)
How-To Steps
Preheat your oven to 350°F (175°C) and grease a 9x13-inch baking pan or line it with parchment paper for easy removal.
In a large bowl, combine the melted butter and sugar, whisking until smooth. Add the eggs and vanilla extract, then stir in the sourdough discard until well incorporated.
In another bowl, whisk together the flour, cocoa powder, salt, and baking powder. Gradually add this mixture to the wet ingredients, stirring just until combined. If desired, fold in the chocolate chips.
Pour the batter into the prepared baking pan and spread it evenly. Bake in the preheated oven for 25 minutes, or until a toothpick inserted in the center comes out with a few moist crumbs.
Allow the brownies to cool in the pan for at least 10 minutes before transferring them to a wire rack. Once completely cooled, cut into squares and enjoy!
Extra Tips
- For an extra chocolatey experience, sprinkle a few chocolate chips on top before baking. Store leftovers in an airtight container to keep them chewy.
Nutritional Breakdown (Per Serving)
- Calories: 380 kcal
- Total Fat: 26g
- Saturated Fat: 15g
- Cholesterol: 195mg
- Sodium: 85mg
- Total Carbohydrates: 32g
- Dietary Fiber: 3g
- Sugars: 24g
- Protein: 6g